...
Click on the Import Images icon in the Explorer Panel.


When the Windows Explorer window opens, you can click on the individual image you wish to import or SHIFT+ SELECT multiple images to import at a time.
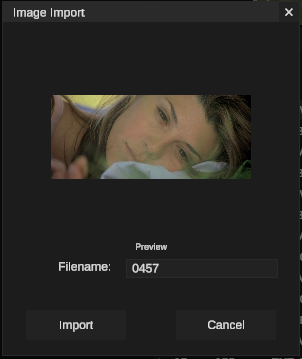
If a single image is selected, an Image Import module will open with the image in a window. You may rename the image if you like and click Import to import the image.
If multiple images are selected, there will be no thumbnail and you cannot rename the images.
FILMATICK will automatically place the images in a folder called IMAGES in the Filmatick Explorer Panel.
| Info |
|---|
After importing the images, you may use the images as shots in Filmatick. |
Creating Shots with Images
| Note |
|---|
At the moment, the user can drag and drop the file into the timeline without creating a shot. A new feature will be completed soon that allows the image to be a shot. |